About an hour of hands-on time, plus however long the downloads take. You'll need an old PC, a USB stick and your home internet. Get stuck at any point? We can help.
1Pick a computer
Any 64-bit desktop or laptop from about 2012 onwards. Desktops are best because they're easy to fit a big hard drive into.
Memory: 8 GB is fine; 16 GB if you want the AI. Our reference box is a Dell OptiPlex 9010 (i7-3770, 16 GB).
Disk: 500 GB or more. Wikipedia with pictures alone is 127 GB. An old 1-8 TB drive is perfect.
Network: plug it into your router with a cable. Wi-Fi on the box itself works, but a cable is more reliable.
This wipes the computer. Copy anything you want to keep off it first.
Boot the old PC from the stick. On Dells press F12 at power-on; on most others it's F12, F11 or Esc.
Follow the installer. Use the whole disk, and when it asks, tick "Install OpenSSH server" so you can manage the box from another computer.
Pick a username and password you'll remember. You'll need them in step 4.
In the video we network-booted the installer instead of using a USB stick. Either way works.
3Give it a fixed address
Phones find NOMAD by its address, for example 192.168.0.199, so it mustn't change. There are two ways:
Easiest: in your router's settings, find "DHCP reservation" or "static lease" and reserve the box's current address.
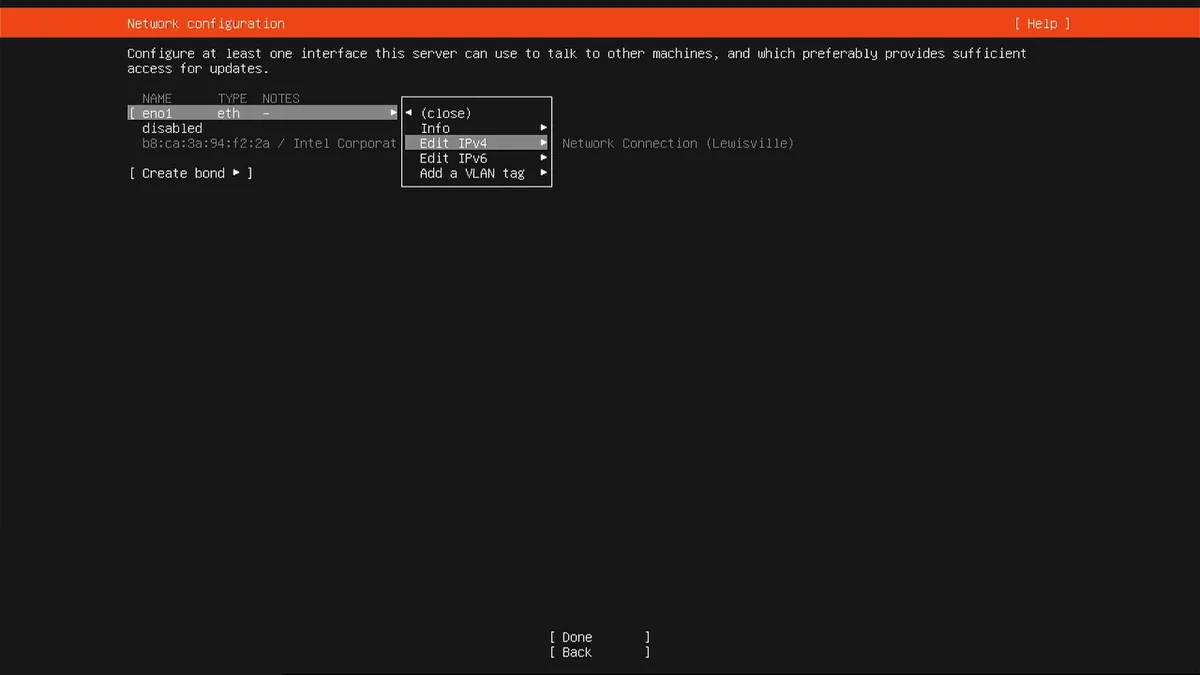
Or in the Ubuntu installer: on the network screen choose your network card, Edit IPv4, Manual, and fill it in as below.
Ubuntu installer: network card, then Edit IPv4, then Manual.
# Example for a typical home network. Use your own router's numbers.
Subnet:        192.168.0.0/24     # must be in this /24 form, not 255.255.255.0
Address:       192.168.0.199      # a free address on your network
Gateway:       192.168.0.1        # your router - check it! ours is .2
Name servers:  192.168.0.1
Check the gateway. In the video Adam typed .3 instead of .2: the box could reach the local network but not the internet. If ping 8.8.8.8 fails after install, the gateway is the first thing to check.
4Run the NOMAD installer
Log in to the box, at its own keyboard or from another computer with ssh [email protected]. Then:
$ wget https://nomad.ayvatech.com.au/download/nomad-0.1.0-alpha.tar.gz
$ tar xzf nomad-0.1.0-alpha.tar.gz
$ cd nomad-0.1.0-alpha
$ sudo bash install.sh
It checks the machine, installs Docker, nginx and Python, sets up NOMAD and starts it. The first run downloads a few GB of software, so allow 15-40 minutes. You'll see each step tick off:
==> Checking this machine
    ok Ubuntu 24.04.5 LTS
    ok 16 GB RAM
    ok 7302 GB free for content at /srv/nomad
==> Installing system packages (Docker, nginx, Python)
==> Installing the NOMAD app to /opt/nomad
==> Downloading and starting the services (this is the slow part)
==> Starting NOMAD
    ok NOMAD answers on port 80

  NOMAD is installed.
  Open it from any phone or laptop on this network:
      http://192.168.0.199/
Options:
--no-ai: skip the local AI. Use this on machines with under 8 GB of memory.
--no-school: skip the Khan Academy / CK-12 school server.
--starter: also start downloading the recommended content (about 150 GB).
Running it again is safe. It updates the app and never touches your content in /srv/nomad.
5Open NOMAD
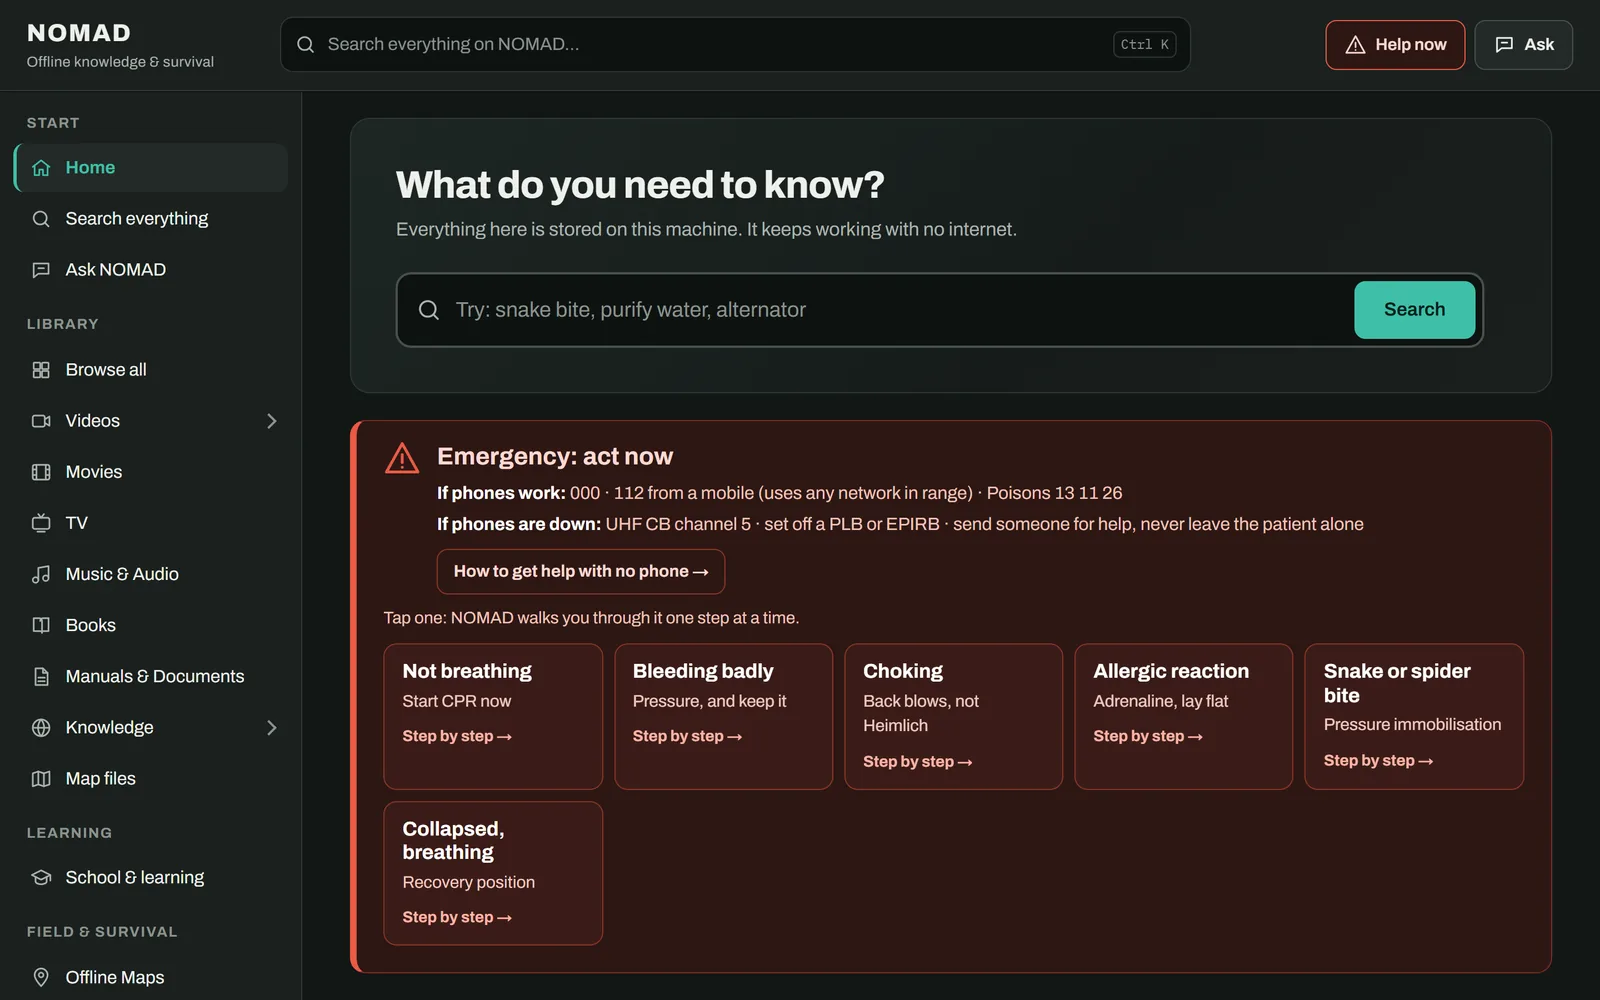
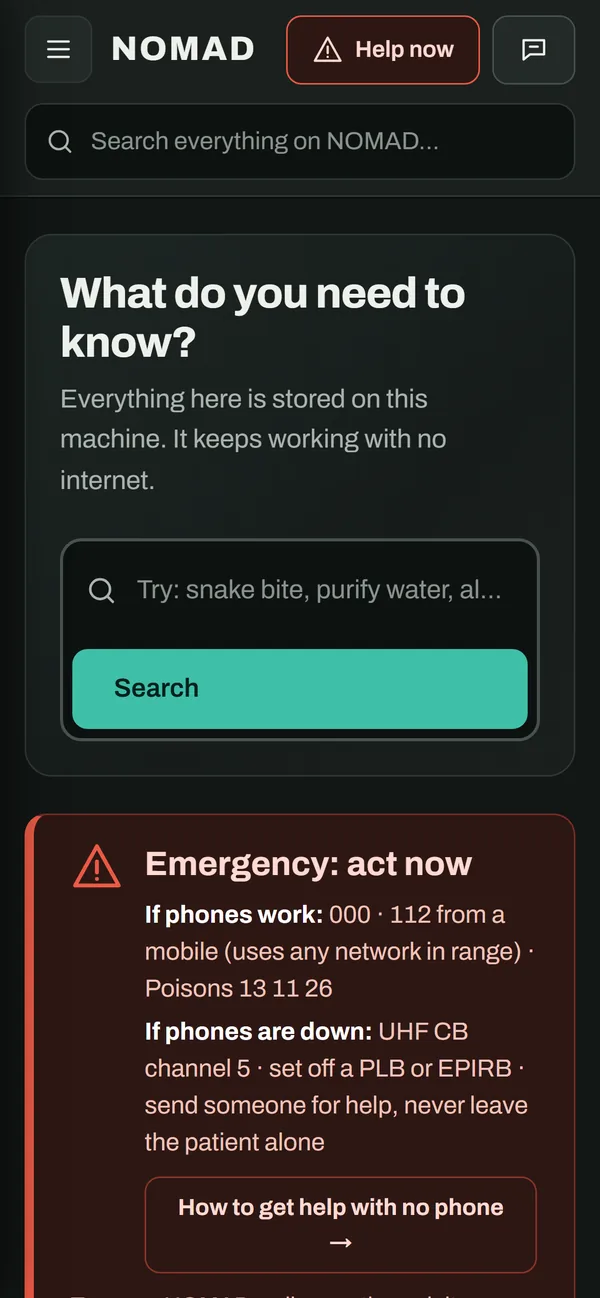
On any phone, tablet or laptop on your Wi-Fi, open a browser and go to the address the installer printed, e.g. http://192.168.0.199. On a phone, use Add to Home Screen so it opens like an app.
6Add content while you have internet
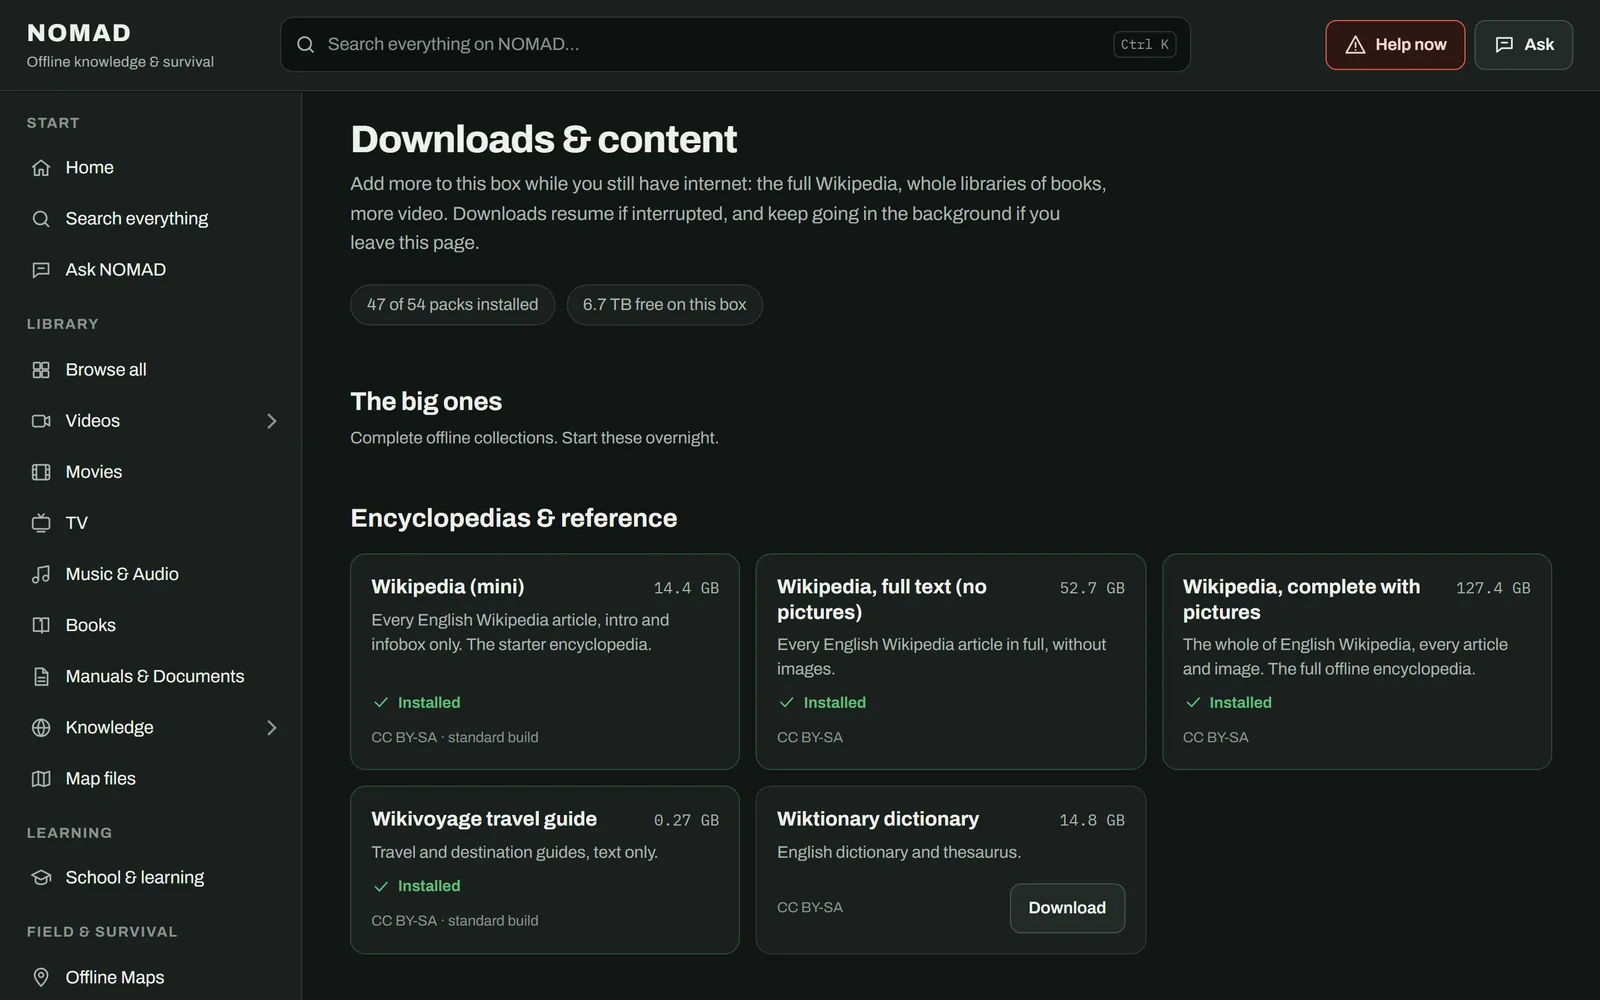
A fresh NOMAD has the first-aid and grid-down guides built in. Everything else is a pack you choose: go to Setup → Downloads & content.
Start with Wikipedia (mini), WikiMed, the Australia map (or your own country's) and the survival packs. They're small and the most useful.
Add the big ones (full Wikipedia, Khan Academy) overnight.
Downloads carry on in the background and resume if the connection drops. Progress shows on the same page.
For the AI, the installer already downloaded the model (llama3.2:3b).
7Go offline and test it
Unplug the internet cable from your router (or turn off the modem) and try it from your phone:
Search for something with a typo, like "snak bite"
Open Offline Maps and search for your street or the nearest hospital
Tap Help now → Bleeding badly and step through it
If it all works, you're set. Put the box somewhere cool and dust-free, and plug it into a UPS if you can.
Troubleshooting
The installer stopped with an error
The full log is in /var/log/nomad-install.log. Fix the problem it names and run sudo bash install.sh again; it carries on safely. Or send us the last 30 lines from Help me install.
"something other than nginx is already using port 80"
Another web server is installed (often Apache). Remove it with sudo apt remove apache2, or use a dedicated machine for NOMAD.
The page won't open from my phone
Check the phone is on the same Wi-Fi as the box (not a guest network), and that you typed http://, not https. On the box, systemctl status nomad should say active (running).
Wikipedia or search shows nothing
Content packs need to finish downloading first. See Setup → Downloads & content. Search fills in as packs complete.
Ask NOMAD is slow
On an older CPU with no graphics card, answers take 1-2 minutes. That's normal. Install with --no-ai if you'd rather not have it.
Movies won't play (Jellyfin keeps restarting)
Newer Jellyfin versions need a CPU with AVX2. The installer checks and picks an older version for older CPUs; if you moved the disk to another machine, run the installer again.